
How to Create a Mail Merge with Gmail and Send Personalized Emails in Bulk
Sep 16, 2022
Nothing can replace the one-to-one feel of a direct email. But how do you achieve that when you need to message a list or large groups of people?
Here is a step-by-step guide* to create a mail merge so you can send out personalized emails in bulk. We will use 3 tools to do this: Google Sheets, Gmail, and an add-on called Yet Another Mail Merge.
*If you already have a spreadsheet with all your mailing list’s information, skip ahead to Step 3.
How to create a mail merge with Gmail
1. Log in to your Gmail account
Make sure you are using the account you want to send your emails from.

2. Create a spreadsheet with your mailing list’s information
Click on the dropdown menu on the upper right corner of your inbox and open up Google Sheets. Start a new spreadsheet— this is where you will record all the information you need for your mail merge.

Create a column for every custom field you want to include your message and assign an appropriate title to each one (i.e. First Name, Last Name). You will use these titles later when you write your email.
Don’t forget to include a column for everyone’s email address!
Fill out all the columns with the information you have.

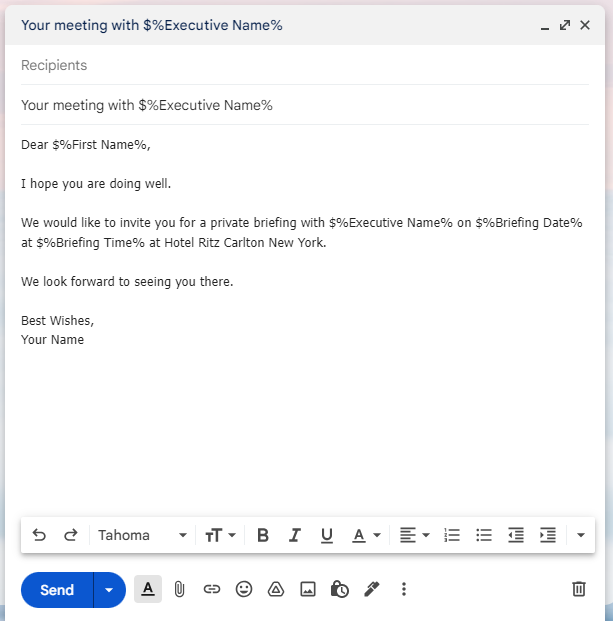
3. Compose your email message in Gmail
Title your subject line whatever you desire. Leave the “To” field blank. Your message will be automatically saved as a draft.
4. Insert custom fields into your message
To use a data point from your spreadsheet in your message, type in ‘$%’ followed by the column title, then another ‘%’ sign.
Example: To insert the recipient’s first name, type in $%First Name%
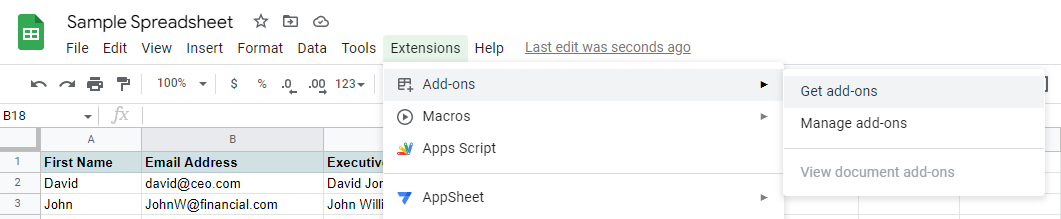
5. Install Yet Another Mail Merge
From the Extensions menu in Google Sheets, click ‘Add-ons’ > ’Get add-ons’ then search for Yet Another Mail Merge. Allow permissions and install it to your account.

6. Start the mail merge
From the Extensions menu, select ‘Yet Another Mail Merge’ > ‘Start Mail Merge.’ Type in your name and select your draft email from the dropdown menu. Click ‘Review Before Sending’ > ‘Send # Emails.’

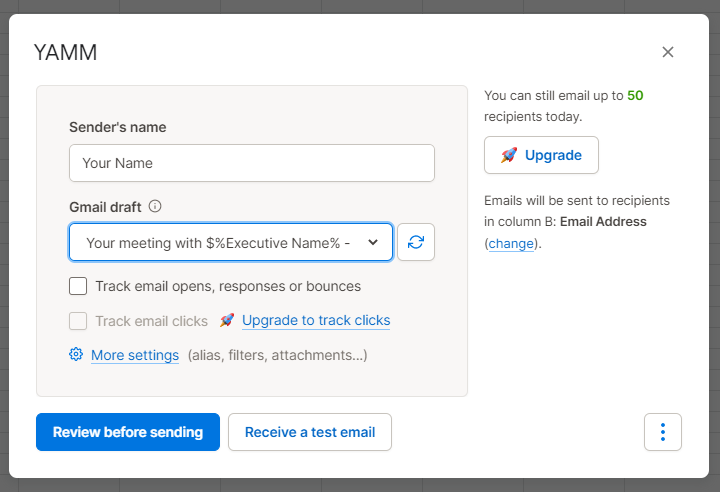
A new column will appear in your spreadsheet entitled ‘Merge Status.’ This tells you who successfully received your email.

Bonus Tip:
To send another email to the same list, you can continue to use the same spreadsheet. Just remember to delete the ‘Merge Status’ column first. Otherwise, you will not be able to complete the mail merge because it shows that it has already been done.
That’s a wrap. Now, go out there and use your new Gmail superpowers!